
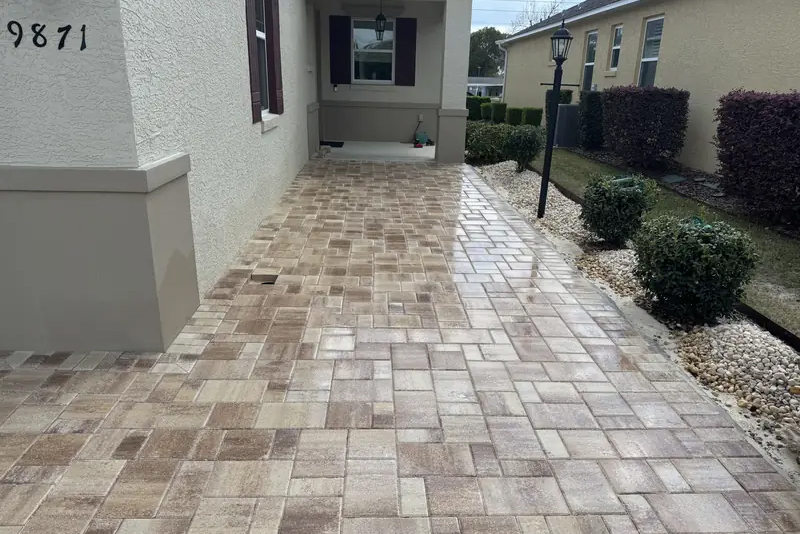
Homeowners shopping for a paver driveway or patio often spend most of their time choosing the right paver: the color, the pattern, the size. That decision matters, but it is not where the long-term success of the project is determined. Installation quality is. A premium paver installed over a poorly prepared base will fail. An entry-level paver installed correctly will last for decades. Reach out to Benchmark Pavers at (352) 651-6077 before your project starts.
What does a properly installed paver driveway or patio actually require?
Installation breaks down into a sequence of steps, and every one of them has to be done correctly for the finished surface to hold up. It starts with excavation: removing enough material to accommodate the base depth, bedding layer, and paver thickness, with driveway applications requiring deeper excavation than patios because of the heavier load from vehicle traffic. Paver driveways rated for vehicular traffic use 2 3/8" thick pavers specifically, a thickness designed to carry vehicle weight without cracking.
After excavation, the base material goes in and is compacted in layers. Compaction is the step that most failed installations have in common when they are dug up and examined later. A base that looks adequate but was not properly compacted will shift as load is applied and weather cycles through seasons, pulling the surface above it out of level and creating the dips and separation that give pavers a bad reputation.
What is the role of the bedding layer, and why does compaction matter so much there too?
The bedding layer sits between the compacted base and the pavers themselves. Limestone screenings, also called stone dust, are the standard material for this layer and are highly effective when applied and compacted correctly. The bedding layer provides the final level surface that the pavers sit on and allows for minor adjustments during setting. Too thick, not compacted, or unevenly distributed, and it becomes the weak point in the system.
Proper compaction of the bedding layer is the last opportunity to ensure a consistent, stable surface before the pavers go down. Once the pavers are set, that work cannot easily be revisited without pulling sections up. This is why it matters so much to have an installer who understands and executes this step correctly the first time.
What are the risks of hiring an amateur or inexperienced installer?
The consequences of a poorly installed paver surface show up slowly, which is part of what makes them costly. The first season or two after an installation with an inadequate base often looks fine. The problems develop as the base continues to settle under load and weather. Dips appear. Joints open up. Sections separate. What started as a driveway that looked good on day one becomes a surface that needs significant repair or full replacement within a few years.
Full replacement is not a minor cost. It means removing the pavers, addressing the base, and reinstalling from scratch, or in some cases installing a new surface entirely. The savings from choosing the lowest bid on the original project often get spent and then some on the repair or replacement that follows. At Benchmark Pavers, the installation process focuses on getting the foundation right because it is what determines whether the surface is still performing well a decade from now.
How do you evaluate an installer's quality before signing a contract?
Ask specific questions about the base preparation process. A knowledgeable installer will be able to describe the excavation depth they plan, the base material they use, how they approach compaction, and what bedding material and thickness they apply. Vague answers or minimal detail on the base process is a warning sign.
Look at completed work. Photos help but seeing a finished installation in person is better. Ask for references and specifically ask those homeowners how the surface has held up over time, not just how it looked when it was done. A surface that still looks good after five Florida summers is a more meaningful endorsement than a photo taken the week of completion.
What is included in a Benchmark Pavers installation?
Proper base preparation and compaction, correctly sized pavers for the application (vehicular-rated pavers for driveways, not the thinner veneer pavers sometimes used incorrectly in driveway installations), polymeric bonding sand in the joints, and attention to detail throughout the setting and finishing process. The goal is a surface installed correctly the first time that does not require repair in two or three years. Contact Benchmark Pavers at (352) 651-6077 to get a straight conversation about what your project requires and what a properly built paver surface looks like.
Get in touch with us
Don’t hesitate to get in touch with us today to schedule a consultation and learn how we can help you achieve your construction goals.