Hardscapes transform ordinary outdoor spaces into stunning functional areas that boost both property value and quality of life. Unlike softscapes that include plants and grass, hardscapes consist of solid, permanent features like patios, walkways, retaining walls, and outdoor kitchens. While these installations might seem complex, understanding the proper techniques and planning process can help you achieve professional results.
This comprehensive guide walks you through the essential steps for installing hardscapes, from initial planning to final touches. Whether you're considering a DIY project or want to understand the process before hiring professionals, you'll learn the key principles that ensure long-lasting, beautiful results.
For homeowners in The Villages, FL, proper hardscape installation requires special attention to local soil conditions, drainage requirements, and climate considerations that affect material choices and installation methods.
Start by evaluating your outdoor area and identifying how you want to use the space. Consider factors like foot traffic patterns, entertainment needs, and existing landscape features. Measure the area carefully and note any slopes, drainage issues, or underground utilities.
Document your property's sun and shade patterns throughout the day, as this affects material choices and placement. Take photos from multiple angles to help visualize the finished project and share your vision with contractors or suppliers.
Material selection significantly impacts both appearance and longevity. Popular hardscape materials include:
Natural Stone: Offers timeless beauty and durability but requires higher investment and skilled installation. Options include flagstone, slate, limestone, and granite.
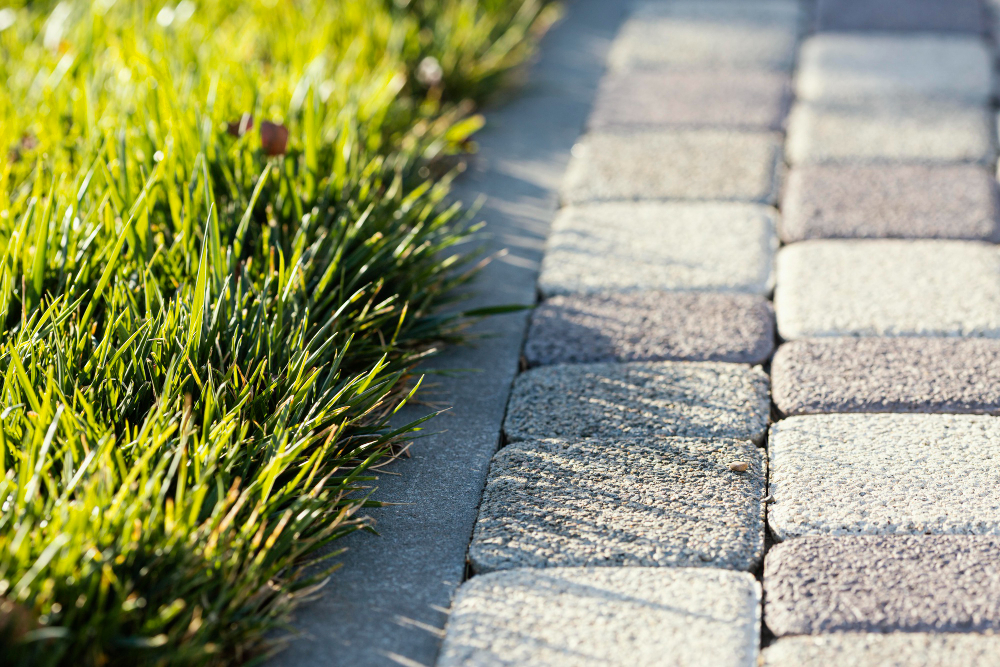
Pavers: Available in concrete, clay, or natural stone. They provide excellent flexibility, easy repairs, and countless design possibilities. Concrete pavers offer the best value, while clay and stone pavers provide premium aesthetics.
Brick: Classic and versatile, brick works well for both traditional and contemporary designs. It's relatively affordable and easy to work with.
Poured Concrete: Cost-effective for large areas but limited in design flexibility. Can be stamped or stained for enhanced appearance.
Climate considerations matter significantly. In The Villages, FL, choose materials that withstand heat, humidity, and occasional freeze events. Light-colored materials help reflect heat and stay cooler underfoot.
Contact 811 (Dig Safe) at least 48 hours before excavation to mark underground utilities. This free service prevents dangerous accidents and costly repairs. Also verify property boundaries to ensure your hardscape stays within legal limits.
Proper excavation depth depends on your project type and local conditions. General guidelines include:
Excavate evenly using string lines and a transit or laser level for accuracy. Remove all organic material, roots, and debris. In The Villages, FL, pay special attention to sandy soil conditions that may require different base preparation techniques.
Compact the excavated area using a plate compactor or hand tamper. Make multiple passes, adding thin layers of soil as needed to achieve uniform compaction. Proper soil preparation prevents settling that leads to uneven surfaces and structural problems.
The base layer provides structural support and drainage. Common options include:
Crushed Stone: Angular crushed stone (3/4 inch minus) compacts well and provides excellent drainage. This is the gold standard for most hardscape projects.
Crushed Concrete: Recycled option that performs similarly to crushed stone at lower cost.
Road Base: Mixture of crushed stone and fines that compacts to a very stable surface.
Spread base material in 2-3 inch lifts, compacting each layer thoroughly. Use a plate compactor for small areas or a vibratory roller for larger projects. Add water lightly if the material seems too dry, but avoid oversaturation.
Check for proper slope during base installation. Most hardscapes need a minimum 1% slope (1 inch per 8 feet) for drainage. In areas with heavy rainfall like The Villages, FL, consider increasing slope to 2% for better water management.
Install edge restraints before placing the final base layer. Options include:
Proper edge restraint prevents spreading and maintains straight lines over time.
Use coarse, angular sand specifically designed for paver installation. Avoid fine sand, play sand, or sand with clay content, as these don't provide stable support. Concrete sand or manufactured sand work well for most applications.
Install screed rails (1-inch pipes work well) at the proper height and spacing. Pull a straight board across the rails to create a perfectly level sand bed. The sand layer should be 1 inch thick after compaction.
Work in manageable sections to prevent footprints and maintain level surfaces. Remove screed rails and fill voids with sand, then lightly smooth the surface.
Start installation from the most visible or important edge, typically along a house or major walkway. Use string lines to maintain straight edges and consistent spacing.
For pavers, popular patterns include:
Place materials gently to avoid disturbing the sand bed. Use rubber mallets for minor adjustments, never steel hammers. Maintain consistent joint spacing using spacers or guides.
Check for level frequently using a straight edge and level. Make adjustments by adding or removing sand beneath individual pieces rather than forcing materials into place.
Measure carefully and mark cut lines clearly. Use appropriate tools for your material:
Always wear safety equipment including eye protection, dust masks, and hearing protection when cutting.
Use fine, dry sand for joint filling. Polymeric sand offers superior performance by hardening when activated with water, preventing weed growth and ant infiltration.
Spread sand over the entire surface, then sweep diagonally to fill all joints completely. Remove excess sand from the surface before final compaction.
For polymeric sand, follow manufacturer instructions carefully regarding moisture content and activation procedures.
Use a plate compactor with a protective pad to avoid scratching the surface. Make multiple passes in different directions to ensure even compaction and proper joint filling.
Add more sand as needed and repeat compaction until joints are full and the surface is stable.
Consider applying sealer to enhance color and provide stain protection. This is especially important for natural stone and in areas with heavy use or staining potential.
Choose breathable sealers that won't trap moisture beneath the surface. In The Villages, FL's humid climate, proper sealer selection prevents moisture-related problems.
Install drainage solutions as needed, including:
Establish a maintenance routine including:
While DIY hardscape installation can save money, complex projects benefit from professional expertise. Consider hiring professionals for:
Professional installers bring specialized tools, experience with local conditions, and warranty protection that often justify the additional investment.
Proper hardscape installation creates beautiful, functional outdoor spaces that last for decades. Success depends on careful planning, quality materials, and attention to installation details. While the process requires physical effort and patience, the results provide tremendous satisfaction and property value enhancement.
Take time to plan thoroughly, gather quality materials, and don't rush the installation process. Each step builds on the previous one, so proper execution at every stage ensures professional results.
If you need help installing hardscapes in The Villages, FL, contact Benchmark Pavers today to request free estimates. Their experienced team understands local conditions and requirements, ensuring your hardscape project exceeds expectations while adding lasting value to your property.
Don’t hesitate to get in touch with us today to schedule a consultation and learn how we can help you achieve your construction goals.